Make sure that you have the FlashBanner/Part3 directory available (see "Open the finished project"), and find the website folder inside this directory. Inside the website folder are the documents that you need to edit in Dreamweaver. You will modify the gnome.html web page in the following exercise.
Note
You can find a finished version of the website in the finished folder in the FlashBanner/Part3 directory.
|
1.
|
Open the page called gnome.html in Dreamweaver MX 2004 or Dreamweaver 8 (this tutorial uses Dreamweaver 8).
You can find this document in the website folder of this article's source files. Look inside the start folder (FlashBanner/Part3/website/start). |
|
2.
|
Save a copy of gnome.html in the same directory as the SWF file you published in the previous exercise (banner3.swf).
|
|
3.
|
Save a copy of rightnav.css in the same directory as the SWF file you published in the previous exercise.
Look inside the start folder to find rightnav.css. This document adds styles (such as text color and margins) to the gnome.html file. |
|
4.
|
In Dreamweaver, make sure that you're in Split view (View > Code and Design).
When in Split view, you can see and edit the code you're working on, and also select the SWF file easily in Design view. |
|
5.
|
Select the large 160 x 600 image placeholder on the right side of the web page (see the following figure).
This is where you want to add the Flash banner to the website. Select the large image placeholder on the right side of the web page in Dreamweaver. Notice that the dimensions are the same as your banner file.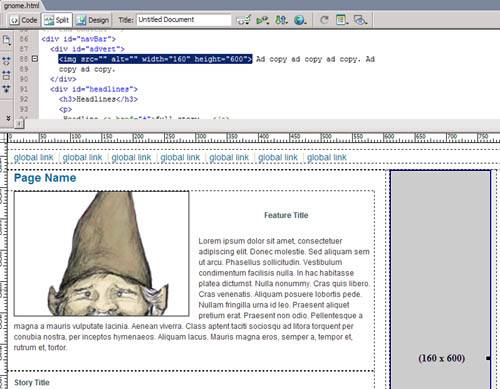
|
|
6.
|
Press the Backspace or Delete key to delete the image. Leave the text selection pointer at that position in the HTML document.
|
|
7.
|
Select Insert > Media > Flash.
This opens the Select File dialog box, where you can select the SWF file of the banner you created. |
|
8.
|
Select the banner3.swf file, which should be in the same folder your web page is in (see Step 2).
|
|
9.
|
Click OK.
The SWF file is inserted into the web page. (See the gnome.html document in the finished folder to reference the code that's added to the document). |
|
10.
|
(Optional) You can select the SWF file and click Play in the Property inspector to view the banner's animation.
|
|
11.
|
Select File > Preview in Browser > iexplore (Windows) or Internet Explorer (Macintosh) (or select your preferred browser) to preview your site that now contains the SWF banner in a browser window.
|
|
12.
|
Select File > Save in Dreamweaver to save your changes before you proceed to "Using roundtrip editing".
|
by updated