Example 3-3. Linking the image
<a href="detail.html"> <img src="images/photo.jpg" width="250" height="188" alt="photograph of a deliciousVietnamese noodle dish from restaurant Pho 88" /> </a>
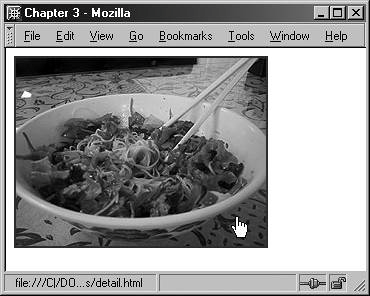
The image is now linked, and when clicked on, it will take the visitor to the detail.html page. You can even add a title attribute to the link if you want further details about the link to be available to your visitors. By default, browsers place a border around the image to highlight the fact that it is a linked image, and the hand cursor appears upon mouseover, too (see Figure 3-6).
Figure 3-6. A linked image.

If the image link is followed, the browser will use the default visited link color around the image. Of course, many people find the link border unsightly. If you'd like to get rid of your border immediately, you can do so by turning it off directly in the HTML, as shown in Example 3-4.
Example 3-4. Using the border attribute
<a href="detail.html"> <img src="images/photo.jpg" width="250" height="188" alt="photograph of a deliciousVietnamese noodle dish from restaurant Pho 88" border="0" /> </a>
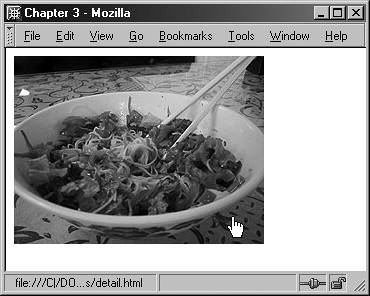
The image, while still linked, now displays no border (see Figure 3-7).
Figure 3-7. The image, while still linked, has no visible border.

Beware: Borders Are Presentational
The border attribute is considered presentational because it can be used decoratively. By providing a value greater than 0, the border size changes, whether the image is linked or not. Ideally, you will use CSS instead of the border attribute to modify your borders. CSS will also be used to position or float the image within its content. You'll learn more about this in tutorial 11, "Margins, Borders, and Padding," and tutorial 12, "Positioning, Floats, and Z-index."