Reduce Workbook Bloat
One of the more common causes of file bloat, particularly in earlier versions of Excel, is the application of formats to entire columns or rows rather than to just the data range in use.
Another mistake is referencing entire columns as the data source for charts and pivot tables rather than just the cells with actual data in them.
To fix these problems, you must eliminate all the extra formatting and restrict your data source to only the useful range of cells. Let’s explore the techniques to reduce a workbook file size:
- Change File Format to .xlsb
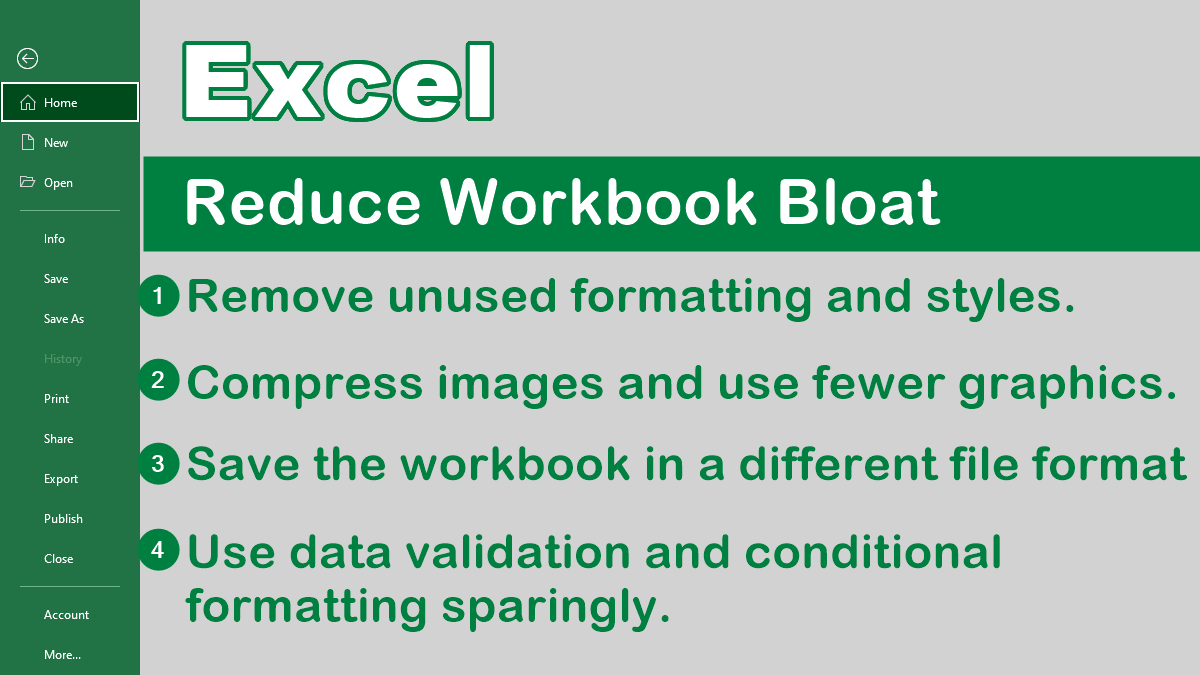
Save the workbook in .xlsb file format. - Remove Unnecessary Data
Delete unnecessary worksheets and remove unused formatting and styles. - Compress Images
Compress images and use fewer graphics. - Reduce Pivot Table Bloat
- Use External References
- Delete and Restore Macros
- Find and Delete Corrupt Worksheets
Before doing such refactoring, always make a copy of your workbook for safekeeping.
1. Use .xlsb File Format
The .xlsb file format is a binary file format and is even more compressed than .xlsx, making the file size even smaller. It has the added advantage of supporting macros.
In case your Excel files involve a significant volume of data or details, this file extension can support you by compressing, saving, and easy opening functions.
To save your file in a different format, go to File > Save As and in the “Save As” dialog box choose .xlsb from the “Save as types” drop-down menu.
2. Remove Unnecessary Data
Another way to reduce Workbook size is to remove any data that you don’t need or use. For example:
- If your worksheet has cells that contain data you no longer need, delete that data.
- Delete unused worksheets. To delete unused worksheets, right-click on the worksheet tab and select Delete.
- Clear any formatting or conditional formatting that is not essential.
- Delete comments.
- Delete unused formulas.
To clear formatting, formulas, comments, or conditional formatting, go to Home > Editing > Clear and choose what you want to clear.
3. Compress Images
If your Excel file contains images, such as charts, logos, or pictures, you can compress them to reduce their size and quality. To compress an image:
- Select Images.
- Choose
Picture Tools > Format > Adjust > Compress Pictures.
You can choose from different compression options depending on your needs. For example, you can apply compression only to selected pictures or all pictures in the file.
You can also choose a resolution level that suits your purpose. For example, if you are printing your file, you might want a higher resolution than if you are emailing it.
Remove cropped content to reduce the file size
When you edit images in a workbook, such as cropping, removing backgrounds, and applying effects, these changes are reversible and can be undone at any time. However, if you want to reduce file size, you can choose to remove cropped content permanently.
4. Reduce Pivot Table Bloat
Pivot tables analyze and summarize data in Excel. But they have drawbacks, such as memory and file size impact. Here’s how pivot tables use memory and how to reduce it.
When you create a pivot table, Excel creates a copy of your data source and stores it in a hidden area called the pivot cache. The pivot cache is like a snapshot of your data that the pivot table uses to perform calculations and display results. Each pivot table that you create from a different data source has its own pivot cache, which increases the memory and file size of your workbook. The larger the data source, the larger the pivot cache.
To avoid multiple pivot caches for the same data source, use this trick: copy and paste. Copy an existing pivot table that uses the same data source and paste it somewhere else. This way, you can create multiple pivot tables that share the same pivot cache, without increasing memory and file size much.
5. Use External References
If you have multiple Excel files that contain similar or related data, you can use external references to link them together instead of copying and pasting the data.
External references are formulas that refer to cells in another workbook. For example, if you have a workbook named Sales.xlsx that contains sales data for each month, and another workbook named Budget.xlsx that contains budget data for each month, you can use an external reference like this:
=SUM('C:\Users\BrainBell\Documents[Sales.xlsx]January'!B2:B10)This formula will sum up the values in cells B2:B10 in the January worksheet of Sales.xlsx. By using external references, you can avoid duplicating data and reduce Excel file size.
To create an external reference, type an equal sign = and then browse to the workbook and worksheet that contain the data you want to refer to.
6. Delete and Restore Macros to Remove Extra Baggage
If you have macros, now you need to address the modules that the macro code resides in. This is a fairly quick, painless, and straightforward process that entails exporting all modules and UserForms to your hard drive and then deleting the existing modules and UserForms, pressing Save, and importing the modules you exported. To do this:
- Open the Visual Basic Editor (press
Alt+F11) - In the Project Explorer:
– right-click each module and
– selectRemove Module1(or whatever the name of the module happens to be). - When you are asked whether you want to export your module before removing it, say
Yes, taking note of the path.
Do this for each module in turn, as well as for any UserForms you might have. Don’t forget the private modules of your workbook and worksheets if they house code as well.
Once you have done all this, save the workbook. Then open the Visual Basic Editor again and, select File » Import File and import each module and UserForm back into your workbook.
Following this process will create a text file of each module and that, in turn, removes all extra baggage that the modules might be holding.
7. Finding and Cleaning Corrupted Workbooks
If you still believe your workbook is too large, it is possible that your workbook or component sheets are corrupt. Unfortunately, determining a point of corruption requires a manual process of elimination.
Again, we strongly advise you to save a copy of your workbook before proceeding.
To be sure you’re not missing anything, unhide any hidden sheets by selecting:
Home » Cells » Format » Hide & Unhide » Unhide SheetIf this menu option is grayed out, you have no hidden worksheets to worry about.
With all your sheets visible, start from the sheet on the far left and move one by one to the right.
For each in turn, delete it, save your workbook, and note its file size by selecting File » Info » Properties. If the file size drops dramatically considering the amount of data on that sheet, you’ve probably found your corruption.
To replace a corrupt sheet in your workbook, create a new worksheet, manually select the data in the corrupt sheet, and cut (do not copy) and paste it into the new sheet. Delete the corrupt sheet from your workbook, save, and repeat.
By cutting rather than copying, Excel automatically will follow the data to the new sheet, keeping references intact.