Needless to say, it will often be necessary to rework the supplied image to fill the needs of the client's ad. Or, on occasion, the image may fill the ad, but an extra image may be needed to satisfy the printer's needs in the form of bleed. In this section, we'll discuss ways to create "more" background.
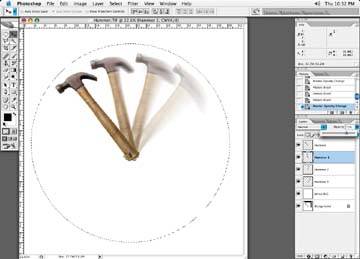
Figure 4-40. Applying incremental levels of opacity helps achieve the final effect of our swinging hammer

Extending the Sky: a Simple Background Extension
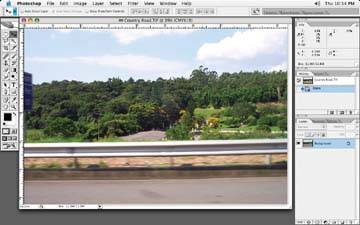
One of the easiest ways to extend a background is to simply make a selection of as much of the background as possible, and then use the Transform function to stretch out the background until the desired crop is met. Let's say we started with the image Figure 4-41.
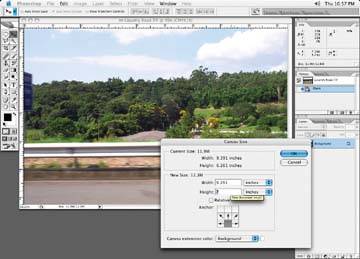
Next, add to the canvas size on top so we have room to extend the background, as in Figure 4-42.
Then we'll select the sky, as shown in Figure 4-43, and using the Transform tool, extend it to fill the area we've created.
The final look of the image with the background extended can be seen in Figure 4-44.
Figure 4-41. Our original country road

Figure 4-42. Add to the canvas size to extend the background at the top of the image
