The first thing you must do before creating a shadow is determine where or what kind of light source would have created the shadow you want. What kind of light source is "present" in your final image? Basically, we have a couple of different potential light scenarios: indoor or studio lighting and outdoor natural lighting.
- Studio lighting
-
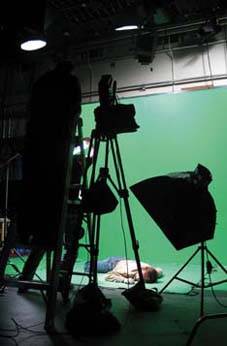
In a studio, a photographer can have total control over the lighting process, choosing which types of lighting sources to use and which methods of reflecting that light to employ. The idea is to light the object in such a way that all the desired details of the object are evident or the proper mood is achieved.
In a photographic studio lighting setup, the photographer has complete control over where the lighting comes from and how it is reflected
Outdoor or natural lighting-
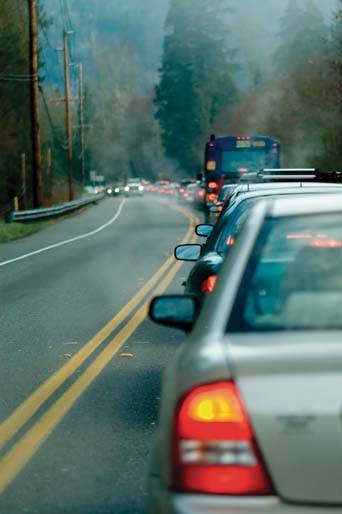
With outdoor lighting, there is basically one source of light: the sun. Shadows created from the sun are quite directional, so it's often easier to see where the shadow direction will fall than it is when light is coming from all around in the studio. Outdoor lighting can be controlled to some degree to highlight various details in an object by using various reflectors, as is done in a studio.
The sun shines down and creates a shadow under the motorcycle

Understanding Changes in Outdoor Lighting
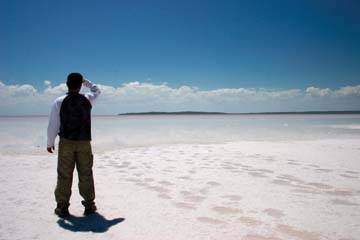
The tricky feature of outdoor lighting is that it changes as the day changes. On cloudy days, shadows are soft and diffused. Early morning sunny days have long soft warm shadows. Midday sunny day shadows are dark, hard, and short. Evening shadows are cooler, longer, and softer. To be realistic, the type of shadow you create on an object will have to reflect these changes that happen during the day.
If you are cropping an image out of an existing background, the groundwork may have been done for you already; there may be an existing shadow in the original that will reflect the natural look of the image. You can determine the look, size, and color of the shadow based on what the rest of the original image looks like. For example, the image may be a snow scene, which means a cooler or bluer shadow.
On a cloudy day, the shadows are soft and diffused
Morning shadows are long and warm
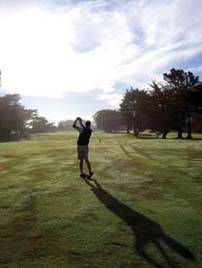
Midday shadows are short and hard
Evening shadows are soft and cool
Merging Multiple Light Sources
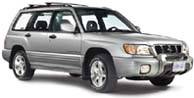
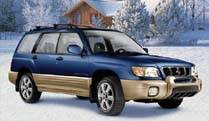
Some lighting challenges may require you to take a variety of images from different sources and merge them together. For example, look at the two differences between the SUV in following figures. The original image in figure was shot in a studio. The windows in the studio shot are not reflecting much of anything. When the car is dropped in the winter scene in next figure, reflections from the nearby forest are added because the window glass is shiny and reflective. The windows are also made transparent to a degree to show the background through the glass, and some white highlights are added to the windows to reflect some of the snow that is in the shot. The outdoor scene has a blue feel to it, so the shadow is a cooler blue tone. In such cases, you'll have to determine the original source lighting of each object and create the appropriate shadows to complement each image, reworking each image shadow so that it falls in line with the others.
An SUV shot in a studio
The same image moved to a new location by retouching
Ultimately, you do not want the shadow you create to look as though it was just stuck onto the image. The final outcome should look as though it wasn't even retouched. This may often mean correcting the image as well as the shadow to reflect its new surroundings, but first we'll concentrate on creating shadows.)
Depending on the overall color of the whole image, color may be introduced into the shadow as well, although I try to stay with a black-only shadow if I can for reasons that will be explained shortly.