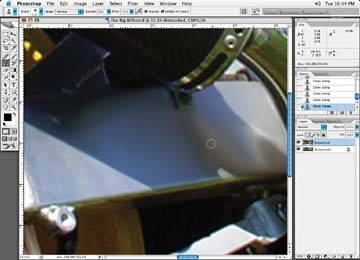
Once an image has been sized up to a large degree, I typically look over the entire image and clone out any noise and smooth the image out, as Figure 7-15. I do this regardless of whatever else I'm going to do to the image. It would be the first step when scaling up images to a large degree to make them look better. This was accomplished by using a low opacity Clone tool brush and massaging the area with my Clone tool, constantly changing the position of the brush settings so that there are no repeat patterns on the image.
Figure 7-15. Image from Figure 7-14 cleaned up with the Clone tool
You may want to fix the background or a non-focal point of the image with one overall correction before getting into the nuts and bolts of the image.
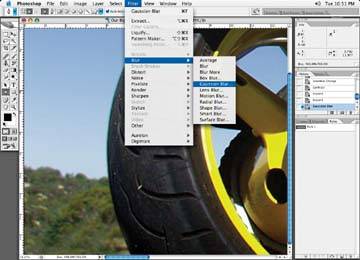
For instance, if your image has a generic type backgroundin this case, the trees in the background Figure 7-16 that are not the focal pointthen you can mask off the focal point of the image to protect itin this case, the motorcycleand then add an overall Gaussian blur to the background, as in Figure 7-17.
Figure 7-16. The background of the image; the trees can be blurred to help minimize the amount of retouching you have to do on nonessential areas
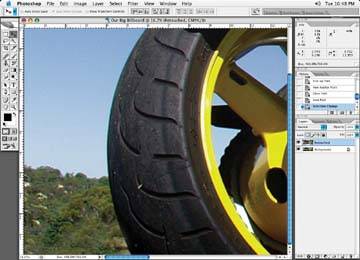
Figure 7-17. A Gaussian blur is added to the background
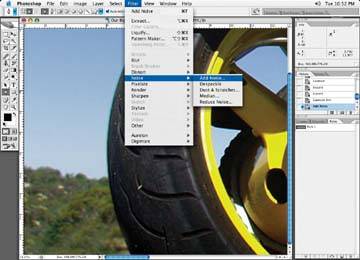
Then add a small amount of noise to break up the softness of the background. As you can see in Figure 7-18, this makes a couple things happen. It helps the main focal point of the image stand out a little more, and it reduces the amount of work you have to do to the image, particularly if a lot of the background of the image is showing and isn't considered the focal point of the image. Blurring the background helps reduce any jaggedness or pixilation that may have occurred during the enlarging process. You can then concentrate your efforts on the main focal point of the image.
Figure 7-18. Add noise to the background to break up the extreme smoothness