Note: Other situations in which you should add motion to steam include car exhaust, airplane vapor trails, and when making someone or something appear as though it's moving quickly, creating a motion trail behind.
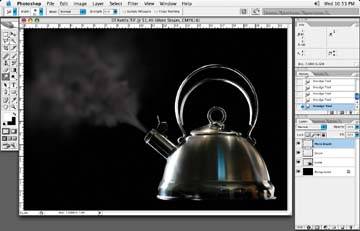
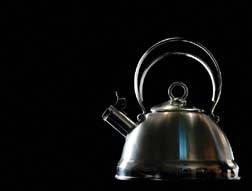
Following figure shows a picture of a kettle. We'll add steam in such a way that it appears to be shooting out of the kettle.
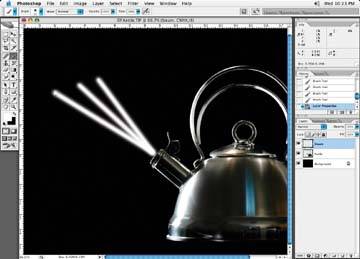
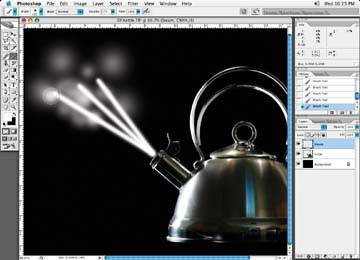
Once again, the first thing I would do is add a new layer to my file and set the attributes to normal; let's call this layer "Steam." Start by adding white lines to this steam layer coming from the kettle holes and project them in such a way that they are on the correct angle to the kettle.
Before: kettle without steam
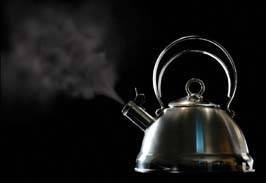
After: whistling away
Start with direct white lines
Note: For the steam to appear natural, the angle of the steam must match the hole angle it's coming out of. For instance, if you were adding steam to a picture of a steam iron, each puff of steam coming from each of the little holes on the face of the iron may vary slightly in angle. You can change the angle of the steam by selecting the appropriate steam layer and transforming it with the Edit
 Transform tool. Remember, though, that when you select the Transform tool, there is a little pivot point that shows up in the middle of your Transform box. Be sure to move this pivot point with your cursor to the point on your steam (or any image, for that matter) that you wish to keep stationary, and any positioning change will pivot from where you have placed the pivot point. Repeat the positioning for each puff of steam.
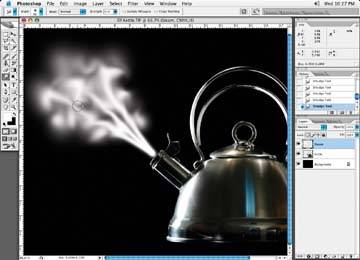
The next step is to add some white puffs to the straight beams of steam to give the impression of the steam diffusing as it leaves the kettle. Add a new layer and brush in some white puffs. I'll use my Brush tool, set the foreground color to white, and set my brush opacity to about 20% and a maximum brush softness. The size of the brush will change as you brush in the steam, and you'll have to try a few different sizes so it won't be too perfect looking. The idea is to have it appear as though it is billowing out. So, add little blobs of white color in and around the white lines you just created.
Add blobs to the ends of the streams
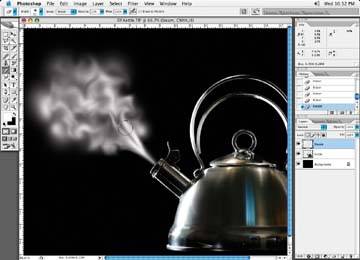
Reshape the steam puffs with the Smudge tool, like we did with our coffee steam, so that they look like the puffs are diffusing as they dissipate from the kettle. Remember, the farther the steam travels from the source of projection, it loses its velocity and diffuses into puffs or cloud-like formations.
Use the Smudge tool to reshape the steam puffs
Now use the Erase tool to selectively erase portions of the steam, to create some transparency. I typically set the Erase tool to a low opacity of about 20%. I find this a good starting point for erasing portions of my steam very gradually without any hard edges developing.
If the steam looks too thick, change the layer opacity to make it appear more natural.
Then, duplicate the steam layer to give some fullness to the steam. Doing this also allows you to change the two steam layers so that they are different than one another, giving a more three-dimensional appearance to the diffused steam.
Note: Have some fun when creating steam or smoke. Use the Smudge tool and the Erase tool to selectively go through the steam and massage it into shape.
The Erase tool helps add transparency
Change the layer opacity to make the steam look more natural
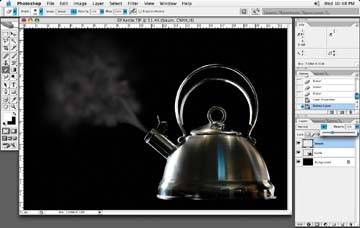
The final steam kettle image with duplicated steam layers