As spreadsheets grow larger and more intricate, named cells and ranges are crucial tools for keeping them manageable. Excel uses the same technique for defining named cells and named ranges.
Create a Named Cell or Range:

- To name a cell, select it, type the name you want into the Name box and press Enter.
- To name a range of cells, select the range, type the name you want for that range in the Name box, and press Enter.
The drop-down list at the right side of the Name box enables you to find your named ranges and cells again. If you happen to select a range precisely, its name will appear in the Name box instead of the usual cell references.
In formulas, you can use these names in place of cell identifiers or ranges. If you name cell E4 “date,” for instance, you could write =date instead of =E4. Similarly, if you create a range called “quantity” in A3:A10 and want a total of the values in it, your formula could say =SUM(quantity) rather than =SUM(A3:A10).
Modify or Delete a Named Cell or Range
Press Ctrl+F3 to open the Name Manager dialog box, or go to Formulas tab and click Name Manager on the ribbon:
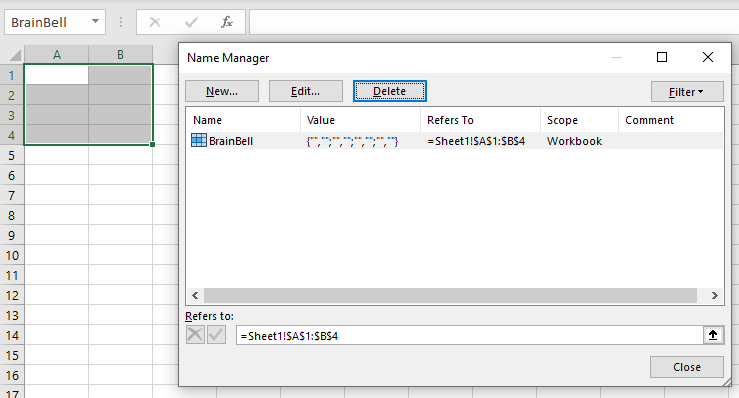
To delete a name, select the name that you want to delete from the list of names and click the Delete button. Click OK in the confirmation box.
To edit a name, select the name from the list of names and click the Edit button, or double-click the name in the list. Make the changes such as changing the name, the reference, or the scope of the name. Click OK to save the changes.