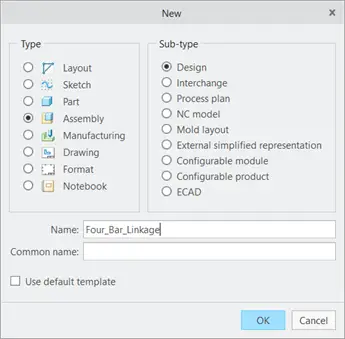
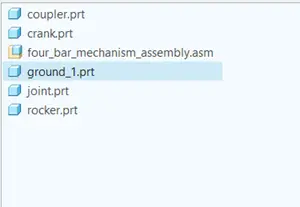
Name the file “Four_Bar_Linkage”.
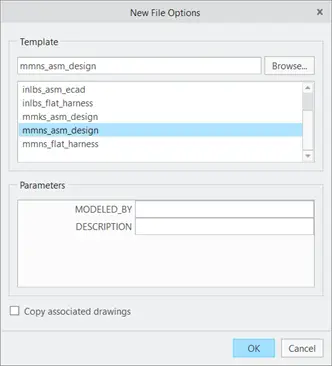
We are going to set the units “mmns_asm_design” . This will set our units to millimeters.
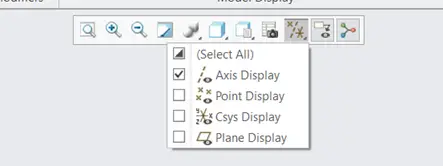
When we open the Creo Parametric, we can see planes (Top, Right, Front), Coordinate systems and different axis. For this tutorial, we are going to display only axis, we have done this for our own convenience.
From the bar that is shown above in Creo, click the Datum Display Filter and uncheck every display except axis display.
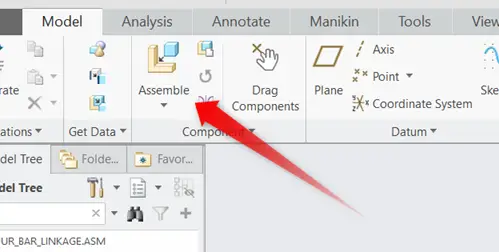
We have to bring the parts in the assembly to start working, to do this, click the assemble command, in the model tab. This will pop up a new window, from this window, will import our first link.
The first link or linkage should act as a base for the other parts. In a four bar linkage, ground link is stationary, it does not move. So, double click Ground link part that was saved earlier.
From the above image, we can see that we are importing the ground link.
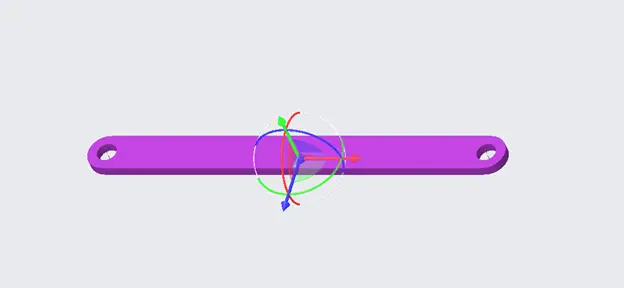
When we import a new part in Creo Assembly, it should look like the part shown above, and it would open a new tab “Component Placement”. In this tab, we can set its placement.
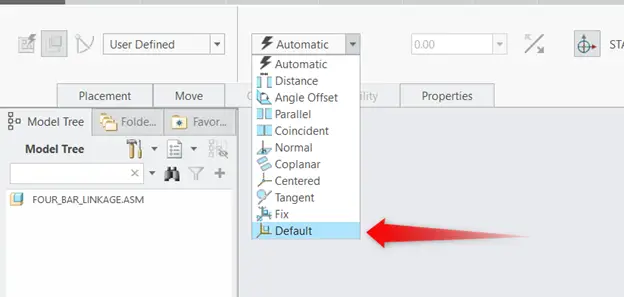
In the component placement tab, the constraint of the part is automatic. It means that it can be anything that will be given to it when it is assembled with other components.
But since it is the ground linkage, we will choose default for it. By choosing default, the component is set to stationary. And the ground linkage can become the basic component of this assembly.
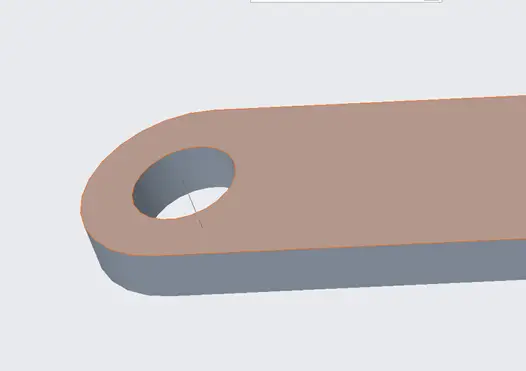
If we zoom in to the model, we can see that axis is shown.
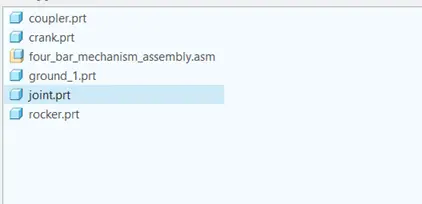
Now we need to add joints on both sides of the ground linkage. Therefore, joint is imported.
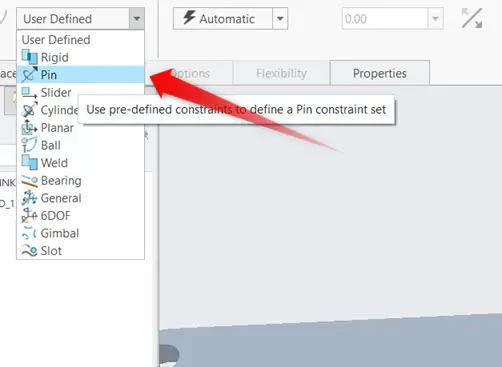
In the component displacement, we need to change the constraint from “User Defined” to “Pin”.