In the previous example, we added a couple of roles to the site. The following example illustrates how to limit access to certain areas of your site based on the user's identity.
Managing Authorization
-
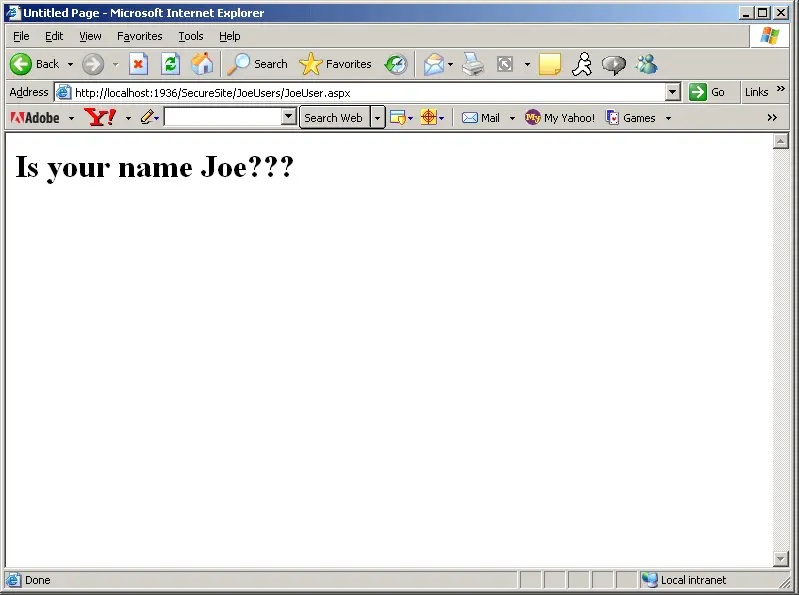
Add a folder for Administrators to access. Name the folder Administrators. Add a Web form to the folder that says something like "Administrators Only." Make a JoeUsers folder (and a Web form for Joe Users). Also make a PowerUsers folder and resource.
-
Now set up associations between the roles you've defined and these new resources. Go to the Web Site Administration tool again. Add some more users, each with various roles assigned. For example, this site includes a user named George associated to the Administrator role, a user named Joe assigned to the Joe User role, and a user named Frodo assigned to the Power User role.
-
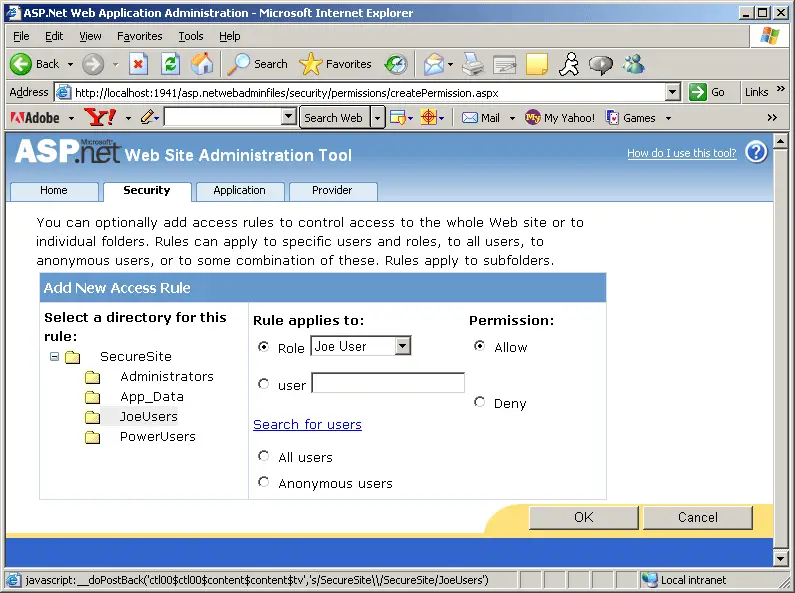
After adding the new users, set up some new access roles. You may do this by selecting the Manage Access Rules link and then selecting the Add New Access Rule link. You may selectively allow or deny various users or classes of users, as shown here:

-
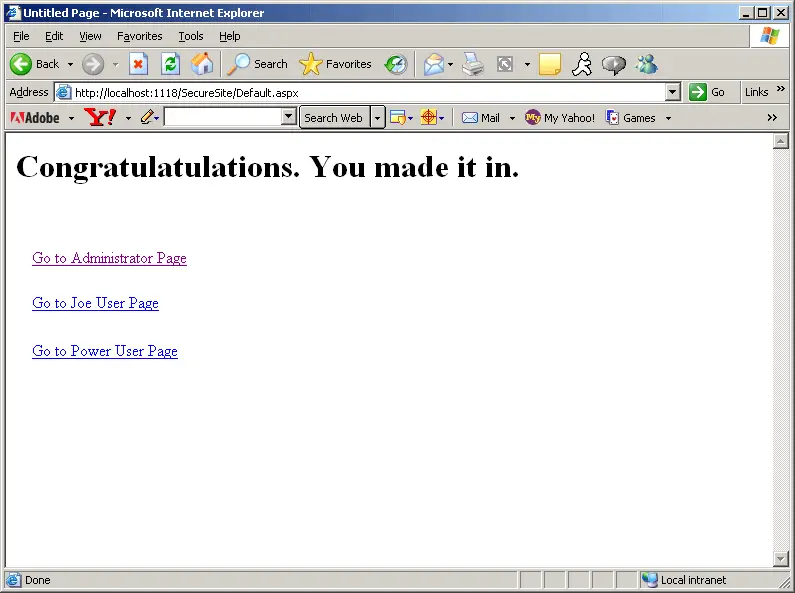
Add some hyperlinks to the default page so that clients can try to navigate to the various restricted pages.

Now surf to the site. Depending upon which identity you logged in as, you should be allowed or restricted to the various resources.

Table 10-1 shows the users' names and their passwords for the example included with this tutorial.
|
User Name |
Password |
|
George |
abc!123 |
|
Joe |
abc!123 |
|
Frodo |
abc!123 |
This touches upon the utility provided by the login controls. For even more robust login scenarios (including password recovery and optional logins), try some of the other login controls.