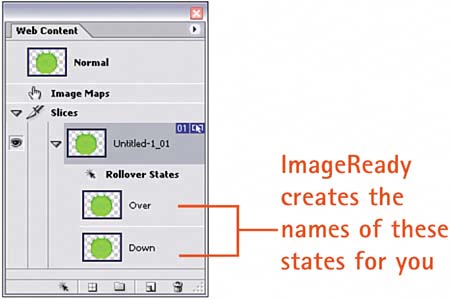
Select Window, Web Content to open the Web Content palette. Select New Rollover State from the palette menu to create a new rollover state called Over. Select New State again to create another new rollover state called Down. You now should have a total of three states: the Normal state and two rollover states labeled Over and Down. (And, unbeknownst to you, ImageReady is creating the JavaScript code to make all this work!)
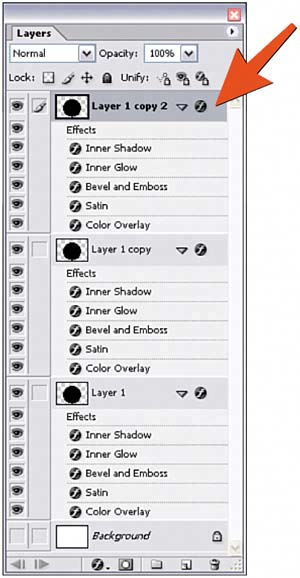
Assign Layers to States
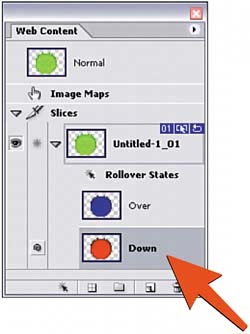
In the Web Content palette, select the Normal state; in the Layers palette, select the layer that shows the color you want the button to be in its normal state. Repeat this for the Over and Down rollover states. Select File, Save Optimized to save the file, making sure that Format, HTML and Images is selected.