The red indicates the area we will be blurring slightly

Blurring the background helps the center penguins stand out
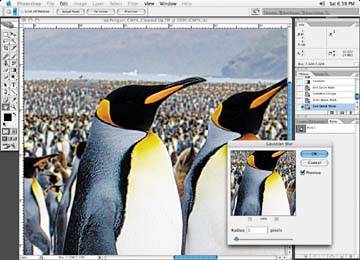
Typically this may be useful if text or logos will be placed on this area, as it helps them to stand out or simply be legible.
Darkening the foreground helps the penguins stand out

Lightening the foreground might also help enhance the key part of the image
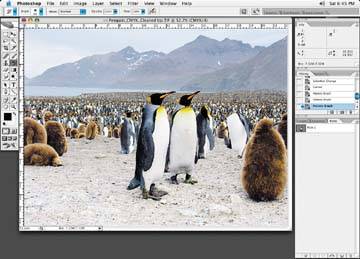
A lightened background loses shadow to the point at which the object no longer appears grounded
Make sure that if you lighten a background, the object remains grounded. By this I mean the object doesn't look like it is floating because the shadow has gone too light due to your adjustment.
If the object is sitting on the ground with a shadow, make sure the object still appears that way when you lighten the background. See how the shadow grounding the penguins has faded to an unacceptable degree in above figure? You may have to go back in and darken or fix a shadow if you lighten the background. This can usually be accomplished by taking a History snapshot of the image prior to lightening, and then brushing the shadow back after the lightening of the background, as I've done in following figure.
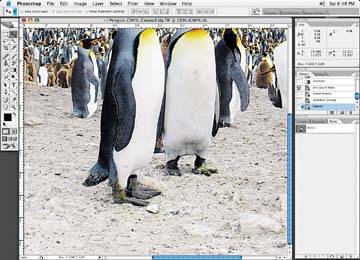
Brushing the shadow back in helps ground the object
One last thing you may wish to do is physically go in and brush either highlights or shadow edging around an object. Do this if the image element appears to be blending in or losing its edges or shape against the background. This helps an object(s) stand out better against the background. In some cases, you may want to go in and define the edges because they look soft or out of focus. Let's start with our familiar penguins.
Start by preparing a crop mask of the object. Then create a highlight layer set to normal and a shape layer set to multiply. Select the paint brush tool and select both the highlight and shadow colors you will paint with.
Choose colors for the highlights and shadows based on what is contained in the image: choose your shadow and highlight colors using the Eyedropper tool, so they match what is in the image already.
Start by brushing in the highlights. Using the brush tool, set the brush opacity to about 20% and begin brushing. You can see the "shape" alone in above image.
You can see that the shape has emphasized the central penguins in following figure.
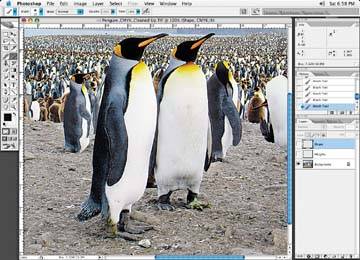
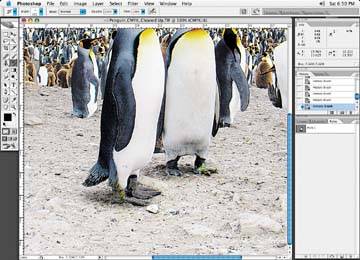
Before: no shape or highlights added