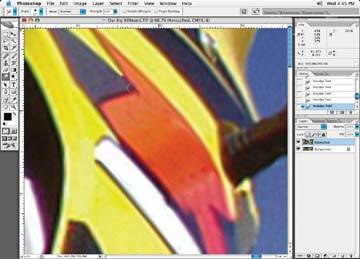
Sometimes an image suffers from staircasing edges or the jaggies, as in Figure 7-26. There are two methods I use to fix this. The first is using the Smudge tool at 50% opacity and drawing around the staircased edges, as in Figure 7-27.
Figure 7-26. The image before the Smudge tool

Figure 7-27. Using the Smudge tool to smooth out the staircasing edges
If the object lines are straight, I use my Shift key and mouse clicks to make my way around the object. You may have to use the Smudge tool and go back and forth over the area edge until the desired effect is created. Play around with your opacity settings on the Smudge tool. I usually start off with 50% opacity and go from there. The Smudge tool softens the edges of the object. You may want to add some noise to these areas when you have completed the Smudge tool corrections.
Another option is to use the Clone tool to fix jagged edges, like the ones in Figure 7-28. Set the tool to a very low opacity, typically 20 or 30%, and then brush along the edge of the object and massage the area back and forth until the area loses the jaggedness, as shown in Figure 7-29.
Figure 7-28. The area with jagged edges before the Clone tool brushing
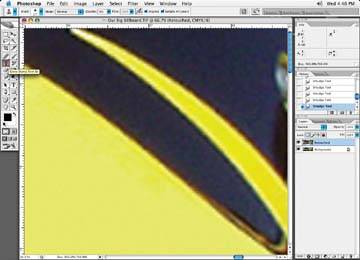
Figure 7-29. The area after the jagged edges have been cloned and massaged with the Clone tool brushing

When employing this technique, change the position of the brushes often so you don't get any repeat patterns. Again, as with other methods described here, add noise to the area to break up the extreme, unnatural smoothness of the brushing.