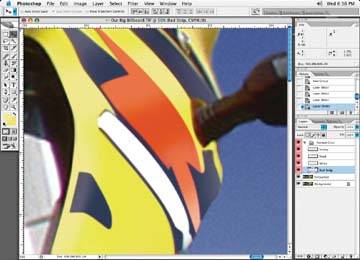
For example, the image in Figure 7-30 has a very grainy area. It turns out much of that graininess is in the cyan channel. If you display the cyan channel, as in Figure 7-31, and add a Gaussian blur to that channel only, it dramatically helps the graininess. (You could also clone or brush only that one channel to get rid of the blur). This way, you don't soften the whole image by blurring all channels, just one channel. This effect can make a big difference and is worth a try, because you are blurring only one or two channels and you are not diminishing the quality of all channels. It also makes the blurring effect less noticeable. Figure 7-32 shows the final results of this technique.
Figure 7-30. Here is a grainy-looking area of an image
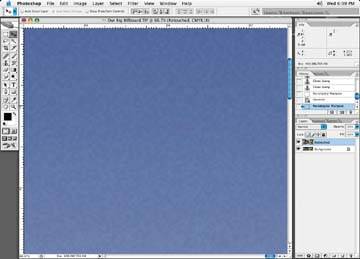
Figure 7-31. The cyan channel has the bulk of the grain
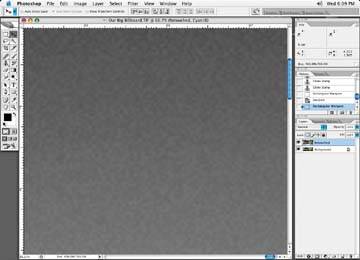
Figure 7-32. Final result of blurring the cyan channel only
Don't be afraid to soften or fix a second channel if blurring only the cyan channel doesn't quite do the trick.
Figure 7-33. Draw a mask around poor-looking areas and shapes
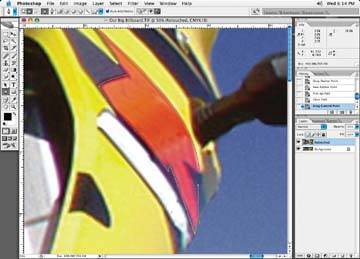
Another technique I use to clear up grainy or blotchy areas is to redraw the area. I start this process by masking off the area that needs to be repaired, as in Figure 7-33.
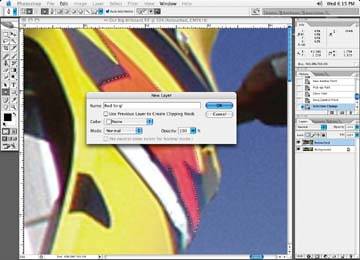
Figure 7-34. I don't want to paint directly on my image, so I'll create a new layer for each newly painted section
Take constant readings of the original color with the Eyedropper tool to ensure that you are brushing in the right color.
Add a new layer and set its attributes to normal, as in Figure 7-34.
With your Brush tool, begin by brushing in color in an attempt to replicate what was there before. With my Eyedropper tool, take readings of the current shades of color that make up the area you wish to repaint. The idea is not to change the color or the way the area is shaded or shaped, just repaint it so that it appears smooth and looks as though it has a higher resolution. Think of it as repainting that old bicycle or car with a fresh coat of paint! Nothing nicer than a snazzy-looking fresh coat of paint!
With the Brush tool, repaint the area shape. Continue this process of making shapes with the Pen tool, making selections, and creating new layers. Take readings of the original color that makes up the shape, and then brush it in to try and match the original shape, but of course with a much smoother, refined look to it.
Figure 7-35. The original unpainted look of the image
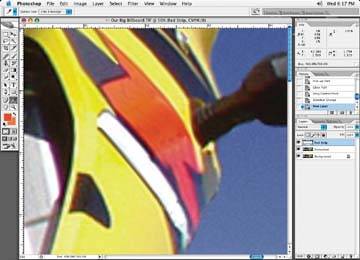
An image that started out like Figure 7-35, when you have brushed the entire area, should look something like Figure 7-36.
This is a great way to fix an area that is in rough shape. It does take some practice, though, and you must constantly take readings to change the color that you are brushing in. Solid objects are easier to fix than complex shapes; you'll have to work up to them. As with any brushed-in surface area, you should add a small amount of noise to these areas. Adding noise helps break up any banding that may occur and reduces the overly smooth surfaces you have just created.
Figure 7-36. The final look of the painted-in shapes on the image