An OLE Object (Object Linking and Embedding Object) is a data type that allows you to store files created in other programs such as graphics, Excel spreadsheets, Word documents, or other binary data. OLE Objects can be used to embed or link external files directly into Access tables or forms. This can be useful for managing and associating various types of files or objects with your database records. This lesson will give you some practice working with OLE object fields.
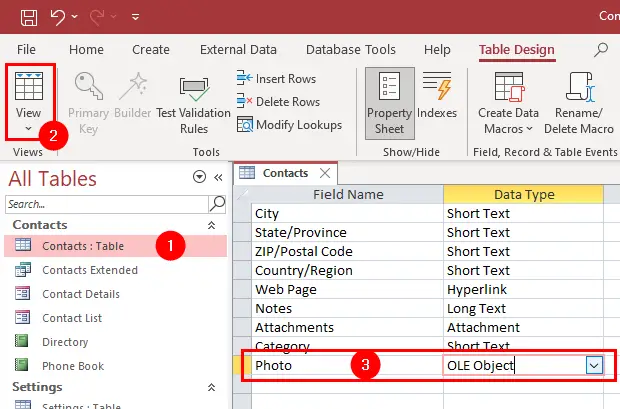
- Select the table
- Click the
Home > Viewto display the table inDesign View. - First we need to add an OLE field to this table:
- Click the first blank Field Name row and typePhoto.
- Click the Data Type list arrow and selectOLE Objectfrom the list.
You've created an OLE Object field! See the following figure:
-
Save your changes and then click the
Viewbutton on the ribbon to display the table inDatasheet View. - Let's try adding an OLE object to an existing record.
Click in any field, scroll to the right, right-click on thePhotofield, and clickInsert Objectfrom the menu. - The Insert Object dialog box appears, as shown in figure:
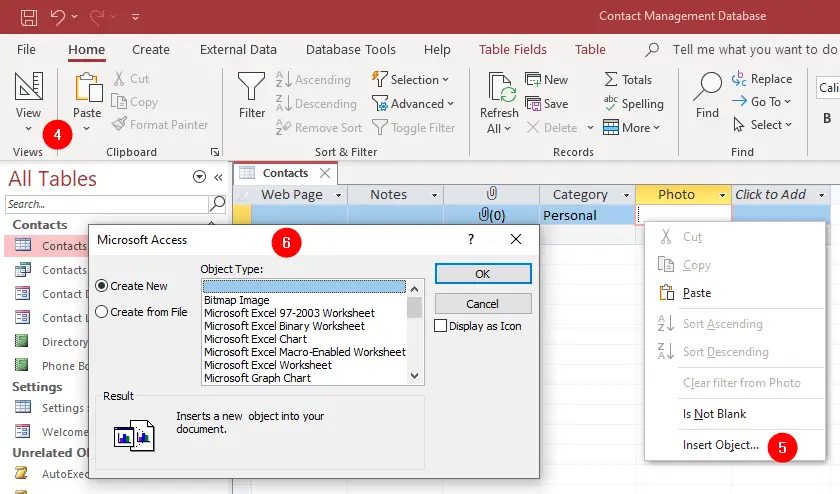
This dialog box offers two options:
- The
Create Newoption allows you to create and then insert new objects. If you choose this option, you can select the type of object you want to embed (e.g., a Microsoft Word document, an Excel spreadsheet, a picture, etc.) from theObject Typelist. - The
Create from Fileoption allows you to insert an existing file.
Click the Create from File option. The Insert Object dialog box displays the Create from File options, as shown in figure:
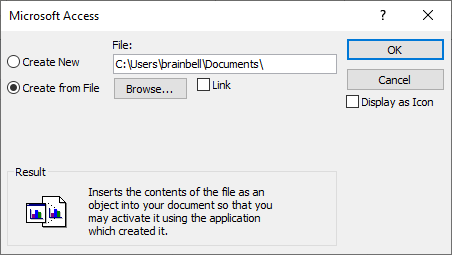
Create from File option selected.Click the Browse button and locate the picture you want to insert into your document. The name and location of the picture appears in the File box.
Link an Object: Before we close the Insert Object dialog box, there is one more very important option we need to explore the Link check box. The Link check box determines whether the OLE object is actually embedded within the database or merely linked to it.
Click OK. The dialog box closes, and Access embeds the picture in the Photo field.
Use a Form with OLE Object Fields
The problem with working with OLE object fields in Datasheet view is that you can't see the actual OLE objects. It's for this reason that you may want to use a form to work with OLE object fields. First, close the table and then follow these steps:
NOTE
Microsoft Access supports only Windows Bitmap (.bmp) and Device Independent Bitmap (.dib) files for display in an OLE Object field. If you want to display other types of graphic files, such as JPEG (.jpg), PNG (.png), GIF (.gif), or other formats, you might need additional software to provide the necessary OLE server components to render those image types properly within Access.
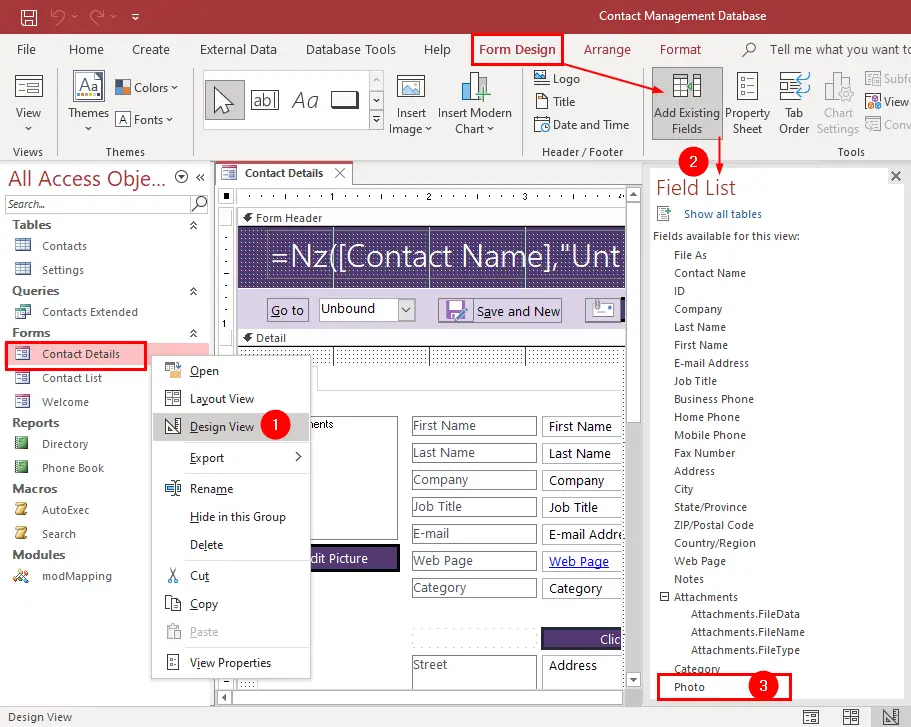
- Right click on the Form which is based on the previous table and choose
Design View. - Open the Field List pane: Go to
Form Designtab and clickAdd Existing Fieldsbutton form theToolsgroup. - Click and drag the
Photofield anywhere on the form.
Don't worry about where you place the Photo OLE object field or if it covers other fieldswe're not striving for perfection here. As with any other form control, you can move and resize OLE object fields.
Let's see how the Photo field looks in Form view.
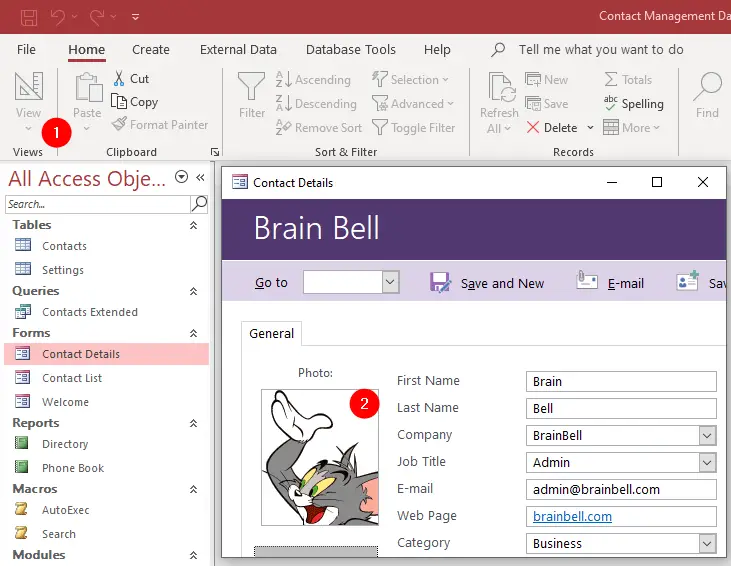
- Click the
Viewbutton on the ribbon to switch to Form view. - Click the Next Record Navigation button until you find the record where you sotred the photo.
Embedded vs. Linked Objects
- Embedded (Link box not checked)
An embedded object is actually saved within the database. Databases with embedded objects are larger than databases with linked objects. The advantage of using embedded objects is that the objects are actually saved inside the database, so you don't have to worry about any attached files becoming lost or erased. - Linked (Link box checked)
A linked object is not saved in the database. Instead, a link contains information on where to find the source data file. The advantage of using linked objects is that if the source file is changed, the linked object in the database is automatically updated to reflect the changes.
Summary: To create an OLE Object Field:
- Display the table in design view.
- Create a new field to store the OLE objects.
- Change the data type of new field to OLE Object.
- Save the table.
To insert an OLE object:
- Right-click on the OLE object field and select
Insert Objectfrom the menu. - Select either:
Create New:to create a new OLE object file (you must select the type of file you wish to create).Create from File: to insert an existing file.
- click OK.
- If you selected the
Create from Fileoption, browse to and double-click the file you want to insert and click OK.