In addition to the fundamental design principles that we discussed earlier in this tutorial, your selection of a background should be influenced by the medium you'll use for the presentation.
If you're going to make the presentation in a darkened room on a large, high-contrast screen, you can get away with just about any combination of colors. But if you're making your presentation in a low-contrast situation (in a room where ambient light will fall on the screen, for example, or on a portable in which some members of your audience might not be able to view the screen directly), make sure you use light letters on a dark background, or vice versa. Those who have trouble discerning colors in low-contrast situations (not to mention the color-blind, who most frequently have trouble distinguishing green and red) will thank you.
Finally, if you intend to print the presentationor show it on an overhead projectorstick to very light backgrounds. Although there are tricks for improving the printed appearance of almost any presentation, if your most important destination is hardcopy, you should design the presentation from the ground up to comply.
To change the background, do the following:
|
1.
|
Apply the design you want and go into Slide Master view (View, Master, Slide Master).
|
|
2.
|
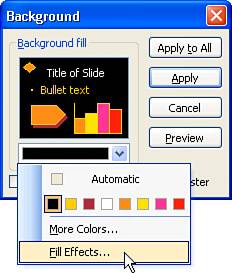
Choose Format, Background. You see the Background dialog box (Figure 13).
Figure 13. Apply quick background changes, or select Fill Effects in the drop-down list to use PowerPoint's extensive set of tools for changing backgrounds.
|
|
3.
|
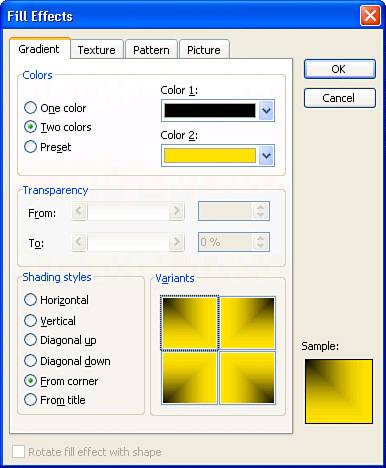
Build your background using any of the following techniques:
|
|
4.
|
When you've constructed the background you want, click Apply to update the Slide Master, and have the changes take effect throughout your presentation.
|
For consistency's sake, you might want to make the same changes to the Title Master.
Changing the Background on Selected Slides
Sometimes your presentation will include one or two slides that absolutely demand a different background. Maybe the colors in a photo clash with the background color. Perhaps the bars of a chart don't stand out well enough against a color that's otherwise perfect for the rest of the presentations.
If you don't want to change the background for every slide in your presentation, use the same techniques described in the preceding section on individual slides. Select the slide you want to change, and follow the instructions. In the last step, make sure you click Apply. (If you click Apply to All, you'll change the Slide Master, and every slide in the presentation will take on the new background.)