Slicing carves an image into pieces, each of which becomes a separate Web file. It's common to slice buttons so that you can attach a separate page link to each button file.

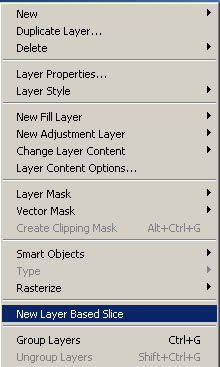
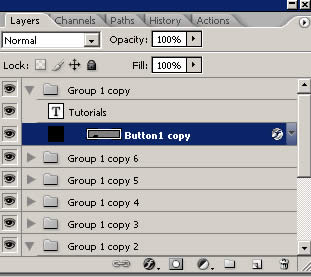
TIP: If you unable to select the New Layer Based Slice command, its mean you've not selected a layer, you should select a layer (do not select the whole Layer Group or text layer, just select the vector graphic layer as shown in figure below).
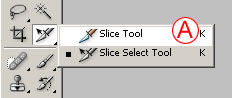
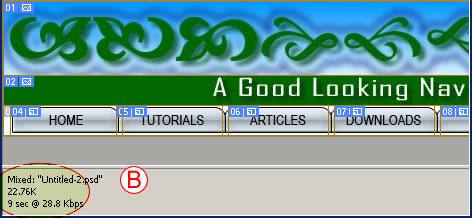
You'll use another method to slice the top graphic, isolating it from the green rule so you can optimize these items with different settings. This is a job for the Slice tool, because both of these objects are on the same layer. Select the Slice tool in the toolbox A, and click and drag around the top graphic to create a manually drawn slice called a user slice B. If your slice needs adjusting, click on any of the slice borders and drag. (You can adjust user slices, but not auto or layer-based slices.)


TIP: Auto Slices may not viewable if they hidden, to view them click on Show Auto Slices in option bar.

3. Name the Slices
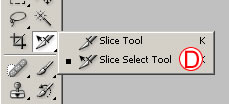
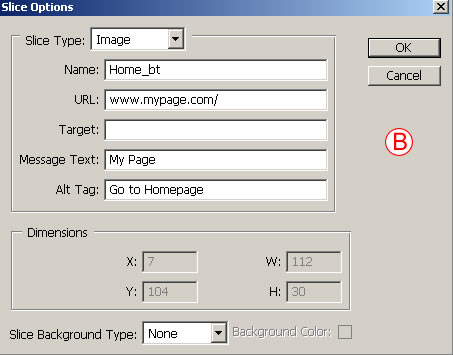
Give the major slices meaningful names so the files they produce are recognizable later. With the Slice Select tool, click on the Home button slice in the image. Click the Slice Options button in the Options bar A to open the Slice Options palette. Type home_btn in the Name field B and click OK. Repeat for each button slice, giving each a recognizable name. Avoid using spaces or odd characters in slice names.

Click here to learn more about slice options.
4. Open the Save for Web Window
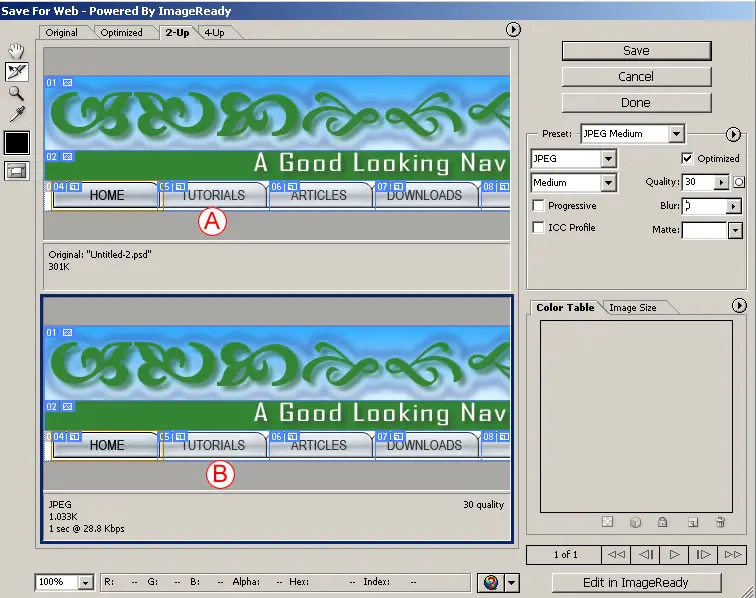
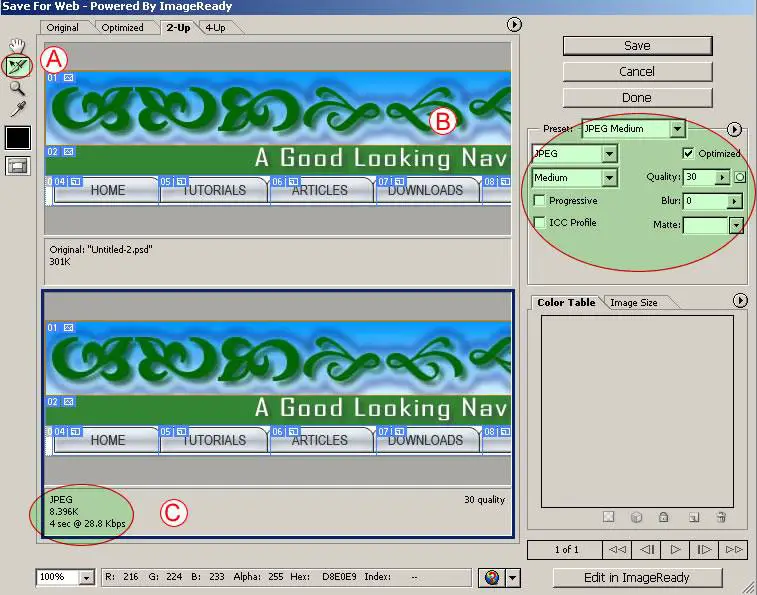
Choose File>Save for Web to open the Save for Web window-where optimizing is done in Photoshop. Click the 2-Up tab so that you can compare the original image A to a preview of the optimized image B. Click the bottom-right corner of the window and drag to resize so that the original and preview panes are horizontal.
5. Optimize the Top Graphic Slice
Apply different optimization settings to individual slices to minimize file size and maximize appearance. Start with the top graphic slice, which is likely to optimize best as JPEG due to its many graduated colors. Choose the Save for Web Slice Select tool A, and click on the top graphic slice in the preview pane B. Choose the following optimization settings (Learn JPEG Optimization Settings) for this slice:
-
Optimized File Format: JPEG.
-
Quality pop-up menu: Medium. Then increase the Quality slider to 50 to reduce the remaining color artifacts.
-
Blur slider: increase slightly to 0.21.
-
Optimized: checked.
-
ICC Profile: unchecked.
-
Progressive: unchecked.
6. Optimize the Buttons
Link the button slices so any optimization change you make to one affects them all. Select one button slice in the preview pane. Shift-click the other button slices. Click the Optimize menu arrow A and choose Link Slices. Choose the following settings (Learn GIF Optimization Settings):
-
Optimized File Format: GIF.
-
Color Reduction Algorithm: Selective.
-
Colors: 32 (seen in the Color Table).
-
Dither Algorithm: No Dither.
-
Lossy: 10.
-
Interlaced: Unchecked.
-
Web-Snap: 0%.
-
Transparency, Matte: Not relevant.

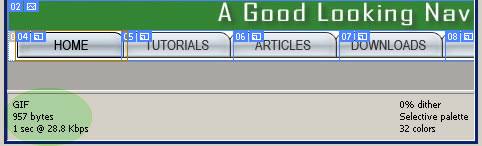
All the buttons together are just 4.4K.
7. Optimize the Green Rule Slice
It's difficult to predict whether a slice like the green rule will optimize best as GIF or JPEG because it has a significant bevel with graduated tones. The best approach is to try both, selecting the slice in the preview pane A and comparing its appearance and file size as GIF and as JPEG. We settled on:
-
Optimized File Format: GIF.
-
Color Reduction Algorithm: Selective.
-
Colors: 10.
-
Dither Algorithm: No Dither.
-
Lossy: 0.
-
Interlaced: Unchecked.
-
Web-Snap: 0%.

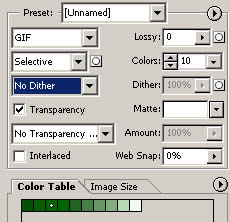
File size is 2.9K--several times smaller than a comparable-looking JPEG.
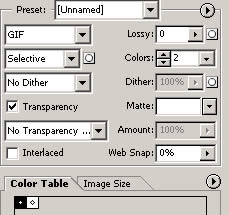
8. Optimize the Auto Slices
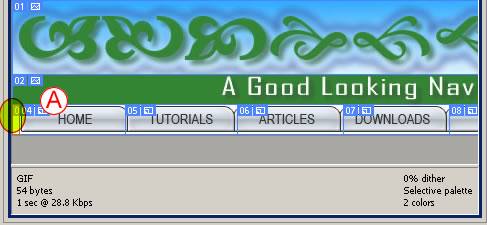
The auto slices are automatically linked for optimization. So optimizing one auto slice will optimize them all, saving you time. Select the slice in the preview pane A and choose:
-
Optimized File Format: GIF.
-
Color Reduction Algorithm: Selective.
-
Colors: 2.
-
Dither Algorithm: No Dither.
-
Lossy: 0.
-
Interlaced: Unchecked.
-
Web-Snap: 0%.
9. Save the Optimized Files
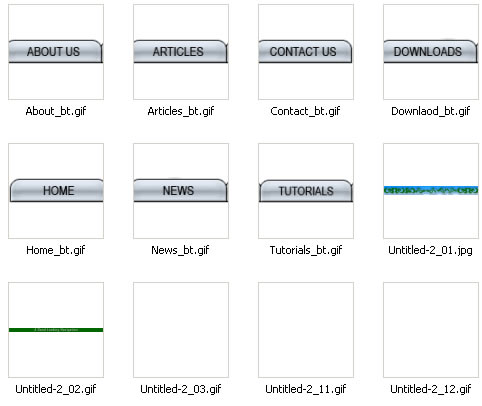
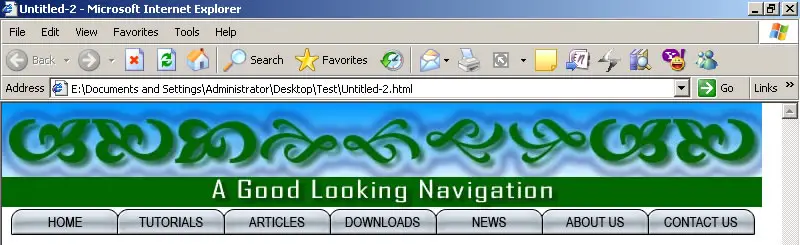
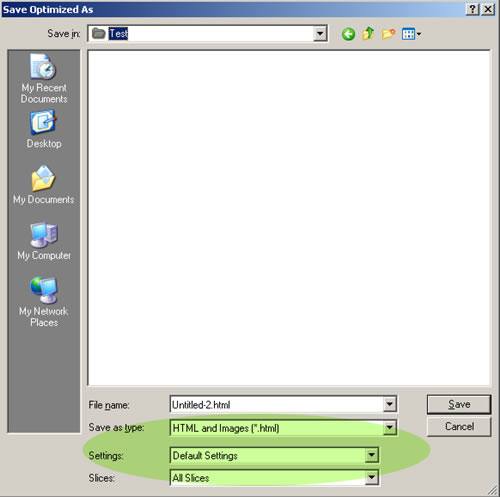
Photoshop will save each of the slices in this image as a separate GIF or JPEG, along with an HTML file containing a table to reassemble all the individual images as your navigation bar. Choose HTML and Images from the Save as Type menu to generate the HTML file. (If you choose Images, Photoshop will save only individual GIFs and JPEGs, which you could take into a site-building program for assembly there.) Leave the Slices menu set to its default-All Slices, choose a destination, and click Save. On your hard drive, there will now be an HTML file and an Images folder containing all your GIFs and JPEGs. Don't separate the HTML file and the Images folder or the links to the images will break. Open the HTML file in a Web browser to see the results of your hard work. Each slice has become a separate image in a cell of an HTML table that holds all the images in place.
10. Save the Source File
Before you close your original PSD file, choose File>Save As to save a copy that preserves your optimization settings and slices. Choose a destination, check Layers to preserve any layers in the file, and click Save. It's best to return to the source file in case you need to make changes to the Web files in the future, rather than try to edit and recompress the optimized files.