If you work with multiple Excel workbooks, you can view them at once by arranging them on the desktop. In this tutorial, I will show you how to arrange two or more workbooks in simple steps. I’m using Office 2021 at the time of writing this post if you’re using an older Office version, read this tutorial: Create a Personal View of Your Workbooks.
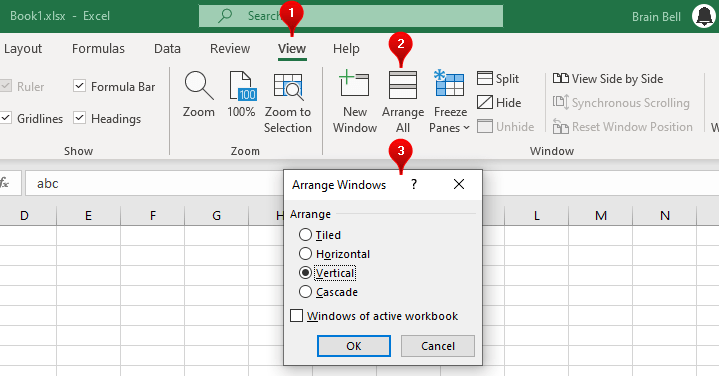
Follow these step to arrange all opened workbooks:
- Open workbooks
- Click
Viewtab - Click
Arrange All - Choose a view mode from the
Arrange Windowsdialog box. Excel offers four view modes for arranging workbook windows:- Tiled
- Horizontal
- Vertical
- Cascade.
- Click OK.
Working with two different parts of a workbook at once
You can create multiple windows for a workbook and then arrange them horizontally, vertically, tiled, or cascade view mode. It appears as if there are multiple copies of the worksheet, but they are just separate views of the same worksheet. To create a new window of an opened workbook, follow these steps:
- Click the
Viewtab, and - Click
New Window.
Repeat the above steps to create more windows for the same workbook. After opening (creating) the desired number of windows, you can arrange them to work on the different parts (or worksheets) on the same workbook simultaneously:
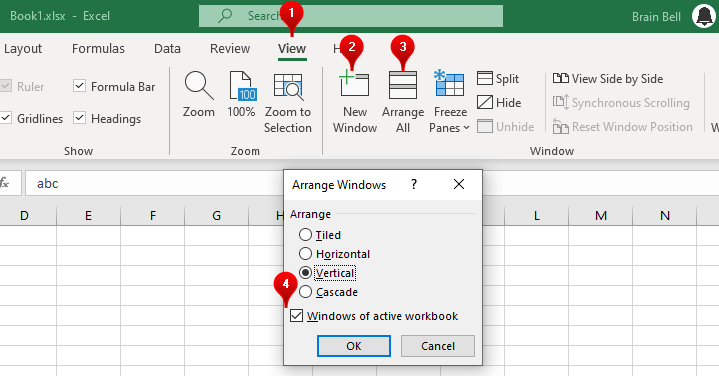
- Click
Arrange All - Choose a view mode from the
Arrange Windowsdialog box. - Check the
Windows of active workbookcheck box to arrange only the windows of the current workbook, other workbooks will be ignored. - Click OK